
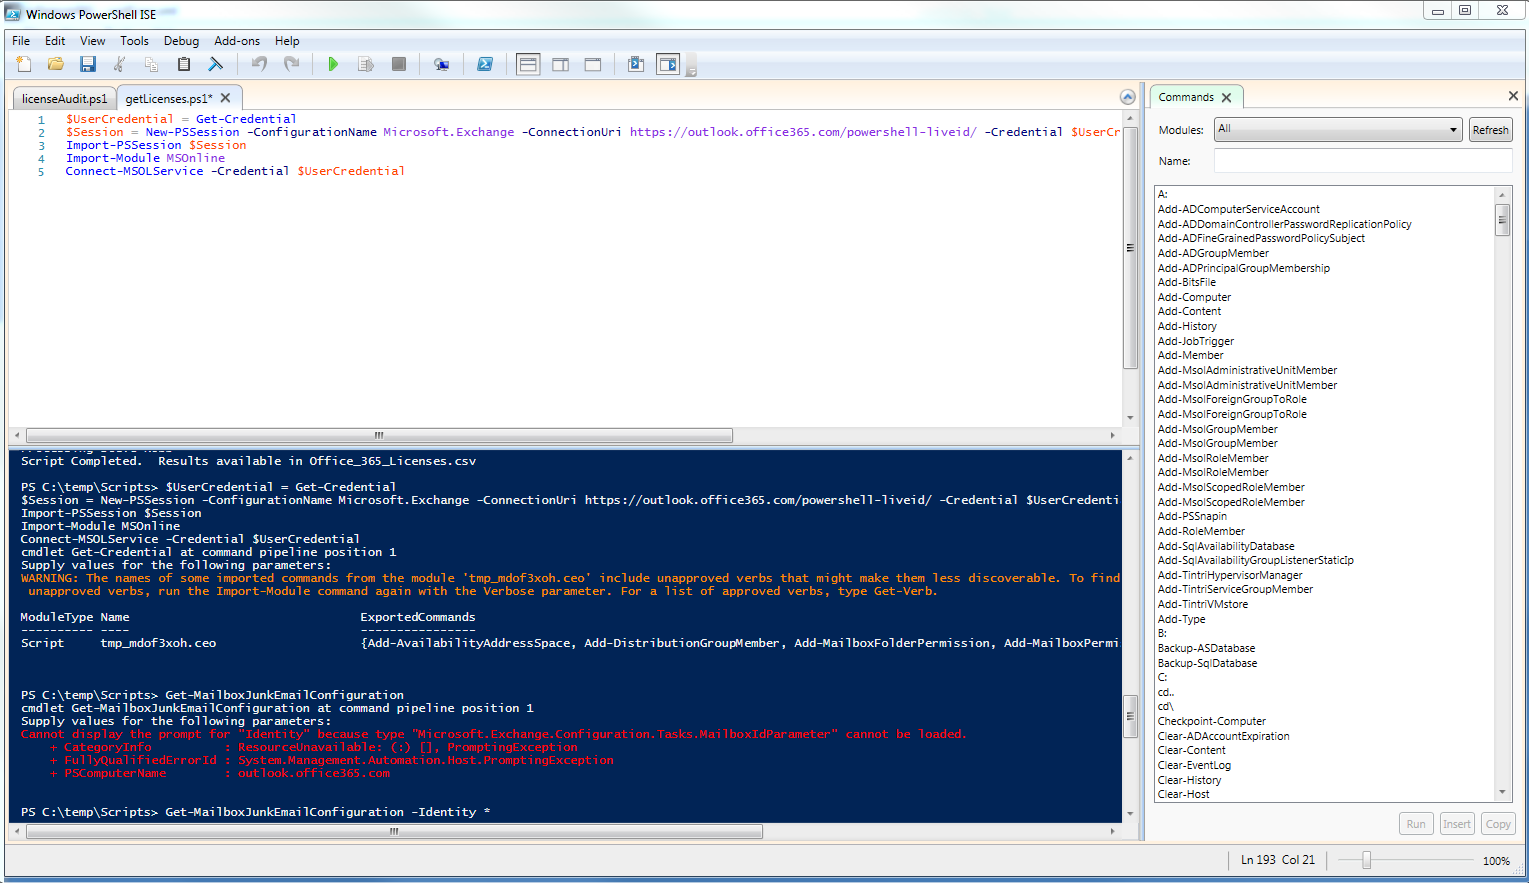
The Windows PowerShell Integrated Scripting Environment (ISE)
I’m not as hands on with my infrastructure as I used to be (due to promotion and expansion of roles), but along with that I do find my time is far more valuable now. With that in mind, I made a conscious effort to learn at least some basic PowerShell commands for often requested tasks. I found myself wasting a lot of time opening ADUC, finding the user / OU I was looking for, and doing whatever task was required (ex. adding to a group, resetting password, disable password expiration, etc.). Prior to Office 365, we were on a hosted Exchange 2007 platform and did not have PowerShell access. One of the big motivators for the switch was to open up scripting access so that we could start to see time savings.
As I have been using PowerShell I have been keeping a running document to record some of the more common tasks that I perform. I figured it might be useful for me to post some of these in the event that I can help someone else, and also as a refresher to me to make sure that I actually know what is going with my commands.
To start things off, make sure you have the appropriate PowerShell modules installed for what you need. In my case, I use the Active Directory modules ( Windows 7) and the Office 365 modules (these can be imported when connected).
Let’s start with connecting to Office 365; the five lines of code below (ignore line wraps) will (1) prompt you for your Office 365 credentials, (2) create a remote Exchange PowerShell connection to Office 365, (3) import the remote connections sessions into your current PowerShell environment, (4) import the MSOnline (think Azure) cmdlets, and (5) connect to the remote O365 environment.
$UserCredential = Get-Credential
$Session = New-PSSession -ConfigurationName Microsoft.Exchange -ConnectionUri https://outlook.office365.com/powershell-liveid/ -Credential $UserCredential -Authentication Basic –AllowRedirection
Import-PSSession $Session
Import-Module MSOnline
Connect-MSOLService -Credential $UserCredential
So why the two connections (lines two and five)? The first one connects to just the Exchange server portion of things while the second one connects to the Active Directory / MS Online account portion of things. An example might make the distinction clearer: if I were to just use the ‘Connect-MSOLService’ command, I wouldn’t be able to run a cmdlet like ‘Get-Mailbox’ because that is part of the Exchange environment. Similarly, if I don’t use Connect-MSOLService I wouldn’t be able to use account-specific cmdlets such as New-MSOLUser (used to create new users).
Now that we are connected, here are some of the more common commands I run for Office 365:
Junk E-mail management - these are useful when trying to troubleshoot why messages are being flagged as spam. The first command will disable Junk E-Mail on the server for a user, whereas the second and third will display a users’ blocked and trusted email addresses.
Get-MailboxJunkEmailConfiguration –Identity emailaddress | Set-MailboxJunkEmailConfiguration –Enabled $False
(Get-MailboxJunkEmailConfiguration emailaddress).blockedsendersanddomains
(Get-MailboxJunkEmailConfiguration emailaddress).trustedsendersanddomains
Of note is that you require the brackets for the second and third command - this tells PowerShell to only list out that specific value (in this case blocked or allowed senders).
Contact management - sometimes you may want to have a forwarding only address on the server, but not provision a full account (whether for management overhead, cost, or some other reason). The first command will let you add an email address to a contact, and the second command will list all addresses associated with a contact.
Set-MailContact -Identity contactEmailAddress –EmailAddresses @{add="[email protected]"}
Get-MailContact -identity contactEmailAddress | select name -ExpandProperty EmailAddresses
Another real handy one: find out who owns an email address. I have seen many times where an alias is setup and long forgotten, but we need to know where the email goes.
Get-Mailbox -Identity * | Where-Object {$_.EmailAddresses -like 'smtp:[email protected]'} | Format-List Identity
One last one: this is a great one to spit out a CSV file of all of my users and what license they are consuming. A great way to perform an audit and make sure you aren’t paying for (or granting access to) unneeded resources. Please note that I did not write this one, but it is one I found on MS Office 365 community forums:
$ReportPath = "c:\users\userlist.csv"
Add-Content -value ("UserPrincipalName"+","+"IsLicensed"+","+ "Licenses”) -Path $ReportPath
$AllUsers = Get-MsolUser -All
foreach ($User in $AllUsers)
{
$UserPrincipalName = $User.UserPrincipalName
$IsLicensed = $User.IsLicensed
$Licenses = $User.Licenses.AccountSkuId
Add-Content -value ($UserPrincipalName+","+$IsLicensed+","+$Licenses) -Path $ReportPath }