Setting Up Veeam Cloud Connect – Client Side
 One of the great features that Veeam has is the ability to easily off-site your backups and replicas for you. This can be done in a few fashions, such as using a backup copy job to move data to different media, or you might use the replication feature to move a copy of your VMs offsite. Reminder: replicas != backups; corruption will just be replicated.
But what do you do if you don’t have the infrastructure available to safely do one of the above? Not all of us are fortunate enough to have multiple locations to copy data to, or more likely, the budget for that hardware. That’s where this third option, known as Cloud Connect comes in. With Cloud Connect you can find a Veeam partner, near or far away, and use their infrastructure to store your data. All your bits are sent over an SSL connection, so the risk of a compromise from in-flight data is a non-issue. Of note is that timing of this post could not have been better. Veeam has recently announced that they are giving away $200 Million in Cloud services.
Recently a friend, and fellow Veeam Vanguard, Tim Smith was looking for folks to try out his Cloud Connect setup. I offered to send some backups his way, and in the process, the idea was brought up that this would be a good topic to blog about. With that in mind, I am covering the client portion of the setup here. You can find Tim’s post on setting up the Cloud Connect server / hosted side here.
With Veeam Backup & Recovery version 9, Cloud Connect Replication was introduced. With this, you can actually replicate your VMs to your service provider. The post below, however, was written when I setup a backup copy job. From the client-side, a replication job to a cloud connect repository would require the same initial steps.
COOL! HOW DO I START?
Let’s say that you have decided on a partner, you’ve signed an agreement detailing what you’ll get, and now you are looking to actually implement this. In the past (~5 years ago or so), something like this would have probably involved a lot of folks (network folks, storage folks, maybe even the backup admins … back when that was still a common role). As you’ll see below, Cloud Connect is quite straightforward to set up.
To start things off, open up your Veeam Backup & Recovery console and head to Backup Infrastructure –> Service Providers and click on the Add Service Provider. If you haven’t yet found a service provider, you can actually use the ‘Find Service Provider’ option to find a Veeam Partner to help you out.

Back in the Service Provider wizard, you’ll need to enter either the IP Address or DNS host name for your providers Cloud Connect Gateway. If your provider will be managing your Veeam installation, you’ll need to check off the checkbox at the bottom of this window. In my case, I did not need this option. You may also note that TCP & UDP port 6180 needs to be opened for outbound access from your Veeam server.

The next step will pull down the SSL certificate that will be used for your connection. Be sure that the certificate you receive is valid! Although Veeam will use a Cloud Connect repository that has a self-signed certificate, I would argue that if a partner can’t shell out a few bucks for an SSL certificate and configure it properly, then you probably don’t want to use them. For the purposes of this post, Tim set up a test environment, and thus used a self-signed certificate … I trust Tim! Luca Dell’Oca has also just published a great post on using Let’s Encrypt with Veeam Cloud Connect.
Your provider should have also passed along some credentials in the form of a username and password. This is where you’ll want to enter that information: click the ‘Add’ button and pop that information in and click ‘OK’ when done.

Assuming you have the correct information, hitting the Apply button will take you to the next screen. This is a good chance to review the settings and make sure they line up with what your agreement states. Also, note that this particular repository does support WAN Acceleration. I’ll cover off installing the WAN accelerator further down..

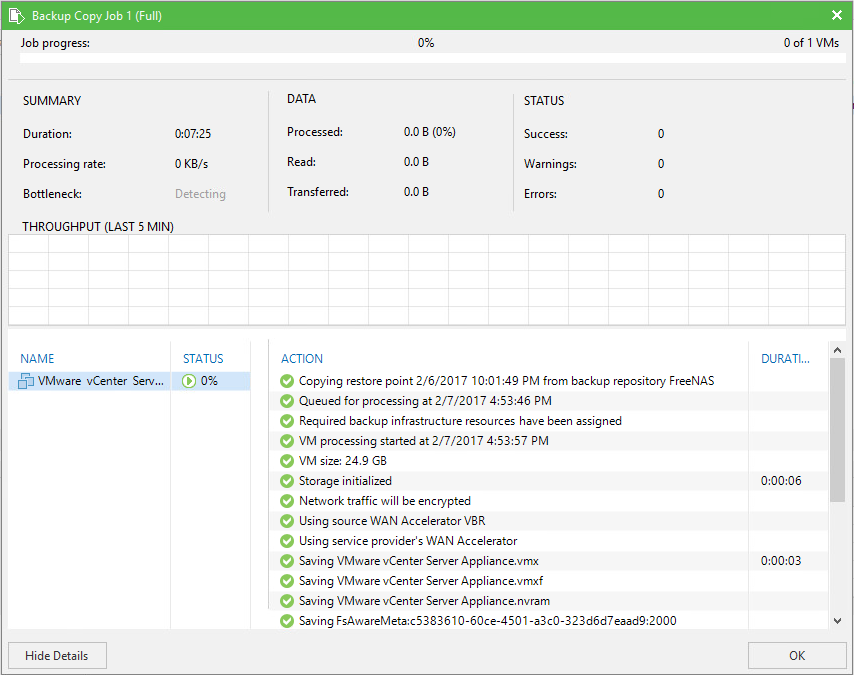
After we confirmed the details, hit Apply once more. This will start the process of going through the tasks and configuring the Cloud Connect repository for local use. Hopefully, you’ll see a bunch of Veeam Green check marks. After that hit Next, followed by Finish on the Summary screen.

And with that, you are setup with a Cloud Connect repository.
WAIT! WHAT ABOUT THE WAN ACCELERATOR?
I mentioned above that Cloud Connect can be leveraged in a couple of different fashions. When it was first introduced, it was used as a remote repository. In version 9 of Veeam Backup and Recovery, it was extended to support a replication target. And ‘soon’ it will officially be supported as a target for Veeam Agent for Windows (VAW). What really excites me about that last one is that now you can protect your road warriors without need to worry about them connecting to a VPN or similar to backup their laptops to your repository.
As part of the setup, I pointed out that Tim had setup a WAN accelerator. The built-in WAN accelerator was first introduced in Veeam B&R version 7, and is available starting at the Enterprise level license. If all you need it for is for use with Cloud Connect, then the Enterprise edition will fit the bill. However, if you want to use it for a Backup Copy Job to a non-Cloud Connect repository, you’ll need to look at Enterprise Plus.
Setting up the WAN Accelerator is fairly straight forward. It does require two components though: one remote WAN Accelerator to receive the data, and a local one to send the data. All we need to worry about here is setting up the local one. This can be done by going to Backup Infrastructure –> WAN Accelerator –> Add WAN Accelerator (button on the ribbon). After you click that, you should see a Window similar to below.

In my case, I am installing the WAN Accelerator right on my VBR server. Depending on your environment, you may need to move it elsewhere. Some considerations for its placement include available space on the server, CPU workload, as well as potential bandwidth restrictions. The typical recommendation is 4 CPU and 8 GB of RAM. Given that this was setup in my home lab, the server has 2 CPU and 8 GB of RAM and performed fine. I would re-evaluate for production use though.
Also note that we’ll need to open up outbound TCP 6165. Lastly, you can adjust the number of streams being sent. The number of streams may be something that you need to play around with to figure out the optimal value. The WAN Acceleration page from the Veeam Best Practices guide has some excellent info on the subject.
On the next screen, you’ll need to select the drive that the cache will be stored on. One would assume that you’ll want SSD-backed storage for the cache, however I have talked to a few Veeam engineers in the past, and the consensus seems to be that it may not make a huge difference on the client side. When sending data, most of the crunching is done by the CPU to do the compression. On the receiving side (i.e. the service provider) it is a different story though as they may have multiple jobs coming through on on the same WAN Accelerator.
When all is said and done, there are less than a handful of wizard screens to setup the WAN Accelerator. That also includes summary – it doesn’t get much easier than that.

HOW DO I USE THE CLOUD CONNECT REPOSITORY?
Simple: the Cloud Connect repository is available for the following job types:
- Backup
- vCloud Director
- Backup Copy
- File Copy
- Restore (pull the data from the CC repository)
In each of the above, when selecting a repository, you should be able to select the newly setup one. All in all, the setup is painless and quite quick to complete.


Pingback: Veeam Cloud Connect - Service Provider Setup - Tim's Tech Thoughts
Pingback: Veeam Vault #5: $200 Million Give Away, VCSP Roadshow Plus Vanguard Blog Updates - VIRTUALIZATION IS LIFE!